Butterflies
Make your own fluttering butterfly with this simple #STEAMjunk project
This weekend I will be running a workshop making paper butterflies at an undisclosed secret location. I’d love to be able to invite you all but I’m afraid that’s out of my hands. However, if you'd like to join in vicariously the patterns and instructions are available below. Have fun!
Fluttering Butterfly
Unleash your creativity with this delightful paper butterfly clothes peg model! Follow the step-by-step guide to create your own charming, colourful paper butterfly
Parts to Download
Print out the parts onto thin card. I used high-quality coated heavy paper for the brightest colours. Paid newsletter subscribers can download the parts at the bottom of this post. Thanks for your support! The download is also available here.
You will need…
As well as the parts sheet you will need a wooden clothes peg / clothespin. Score the butterfly along the edge of the body then carefully cut it out. Cut out a pair of antennae and a pair of wing push rods.
Antennae
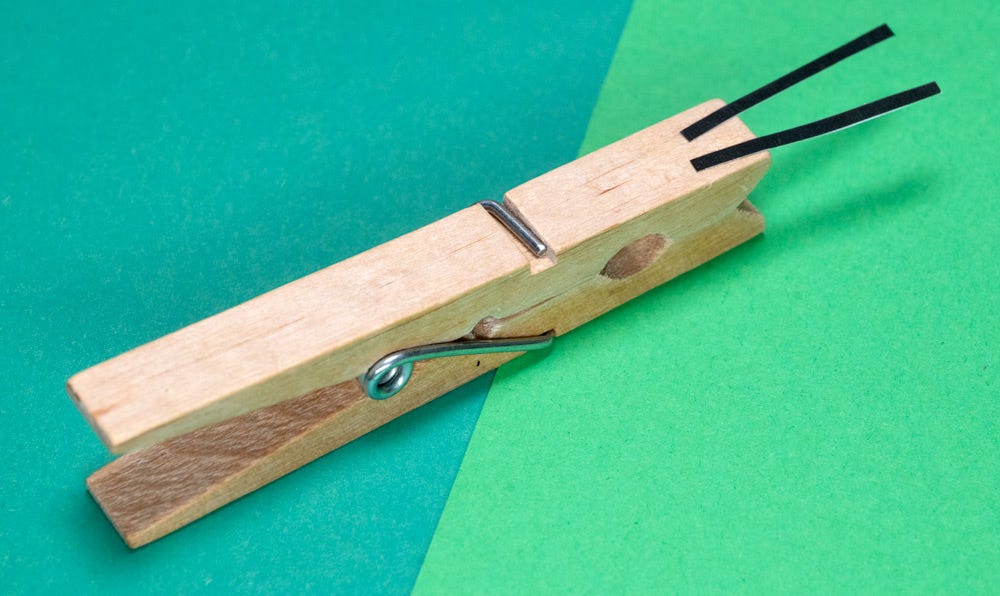
Glue the antennae to the end of the clothes peg as shown.
Wings
Glue the wings to the peg with the crease lines lining up with the edge of the peg
Push rods
Fold the push rods to make a crease along the dotted line.
Glue the push rod to the wing so that the end touches the peg
Linking the wings
Lift wings slightly so that they are angled up from the peg. Flip over the butterfly then glue the push rod to the sides of the lower jaw only. Cut off any excess push rod paper.
The Finished Project
Squeeze the peg to make the butterfly flap its wings. Try the other butterflies or design your own.
If you are feeling adventurous, see if you can find different sizes of pegs and print out the parts sheet at different scales to make tiny, or giant butterflies!
Paper Animals in Action
If you have a taste for clothespin models, go and check out my book “Paper Animals in Action” for loads more projects including a fully closing butterfly!
Paid subscribers to this newsletter can download the parts sheet below. Thanks for your support! The download is also available here.


