Felt Bird
A felt bird automata project to download and make!
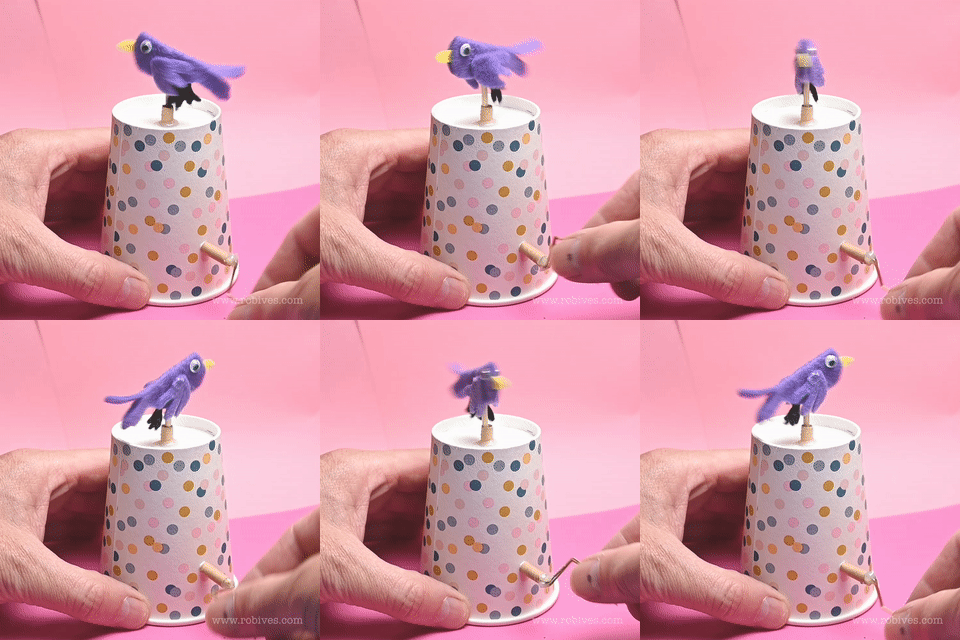
Introducing the Felt Bird. Prepare to be enchanted by the whimsical dance of our charming felt bird as it gracefully twists from side to side. This delightful creation combines art, engineering, and a touch of magic to bring joy and wonder to your world.
Paid subscribers to this newsletter can download the fully illustrated project instructions from the link at the end of this post, thanks for your support! Alternatively you can download the instruction from the main website here
Templates for felt parts is available for paid members at the end of this email as well as from www.robives.com
Cut these parts out from coloured felt, mix
your colours to make a colourful bird!
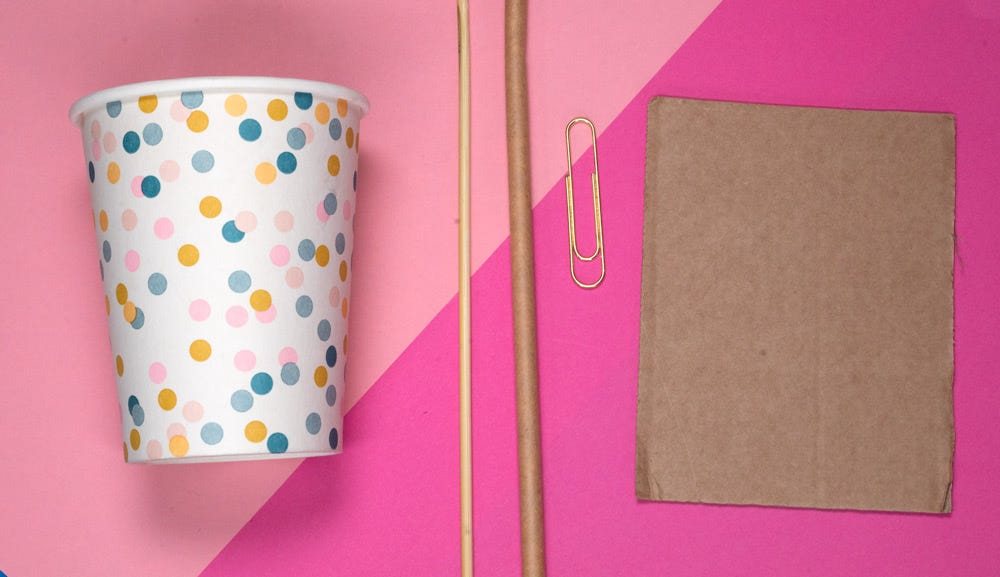
As well the felt and some googly eyes, you will need a paper cup, a wooden skewer, a paper straw, a paper clip and some corrugated card.
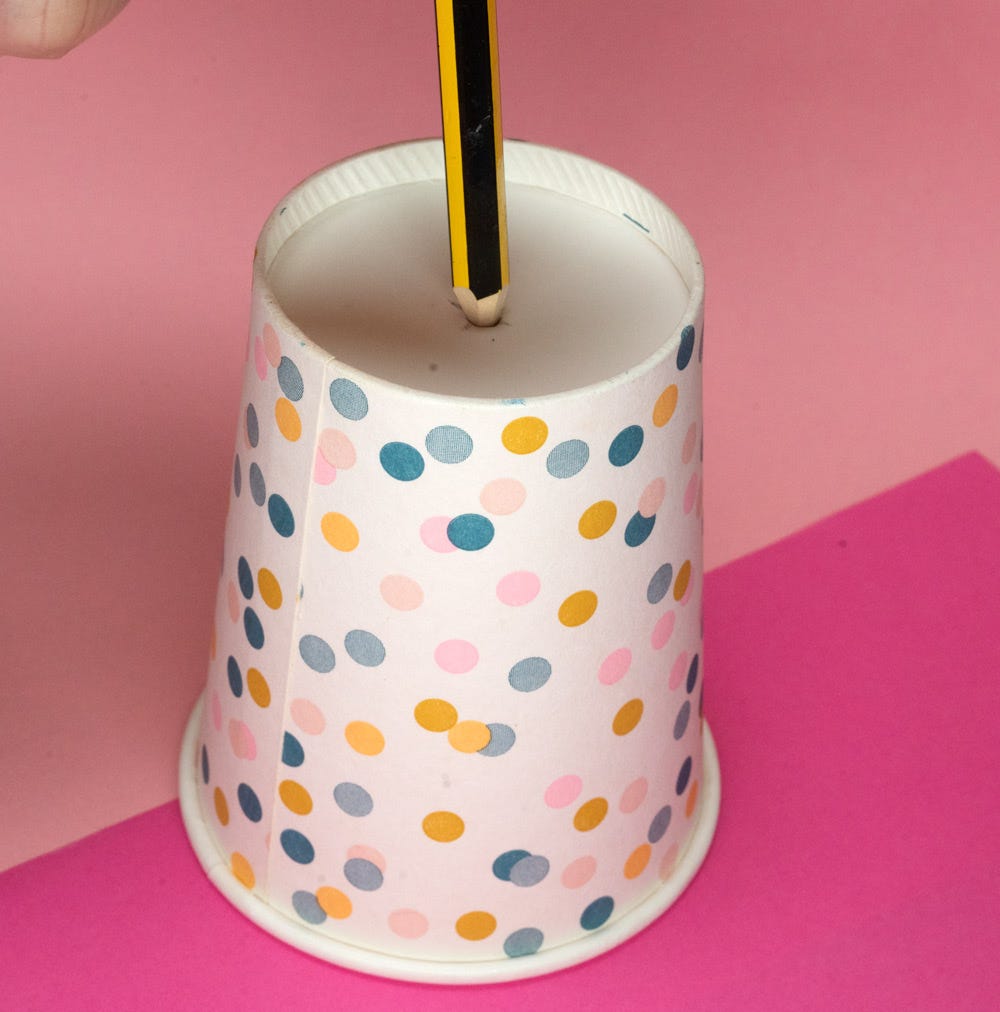
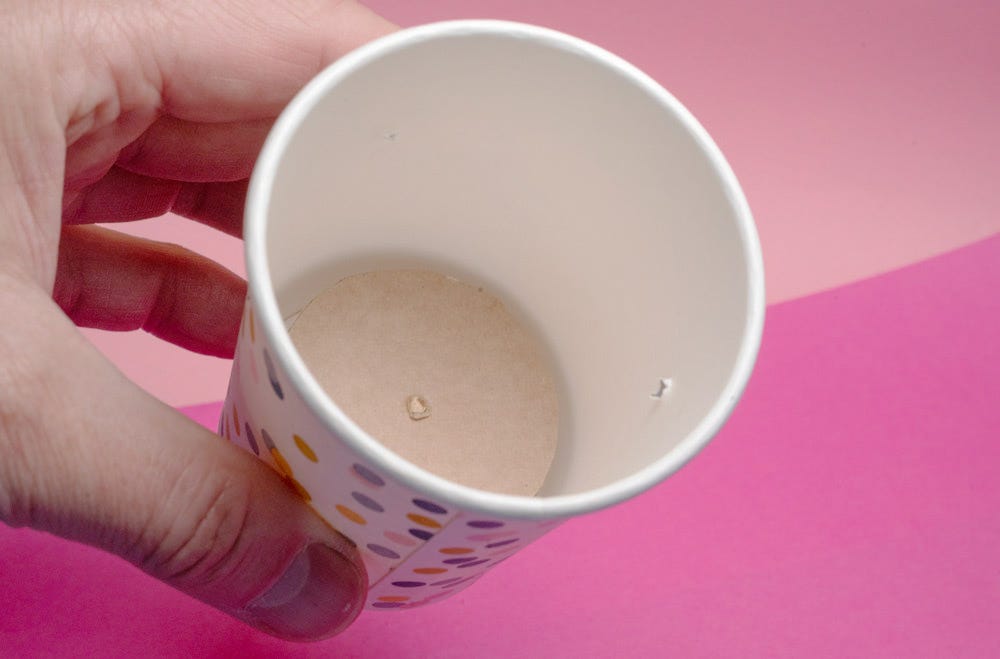
Use a pencil point to make a hole in the centre of the paper cup base. Expand it so that the paper straw is a tight fit in the hole
Cut a length of paper straw roughly 40mm long. This will be the guide tube for the bird’s push rod
Push the straw into the cup and secure it with cool melt hot glue.
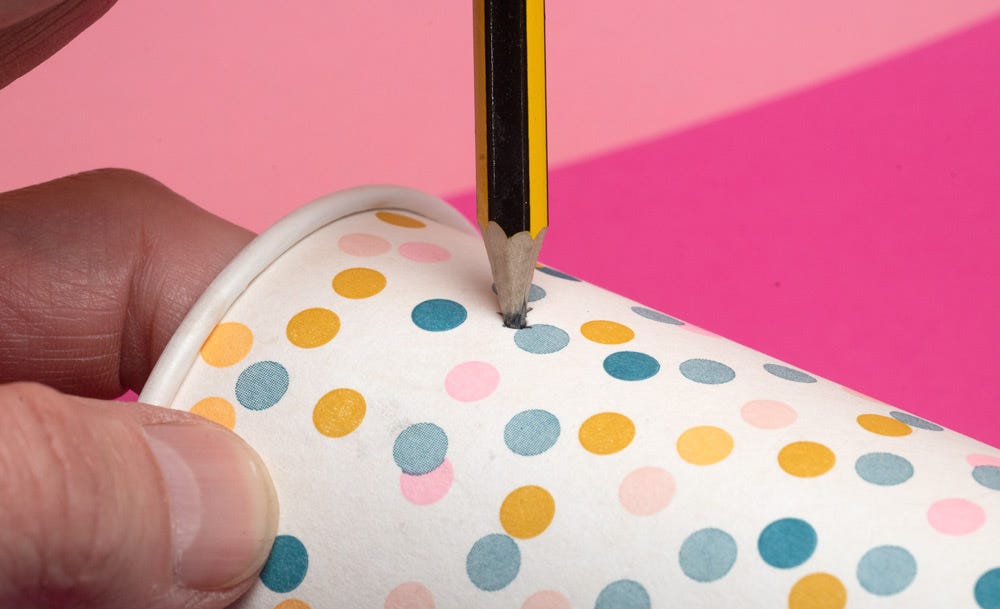
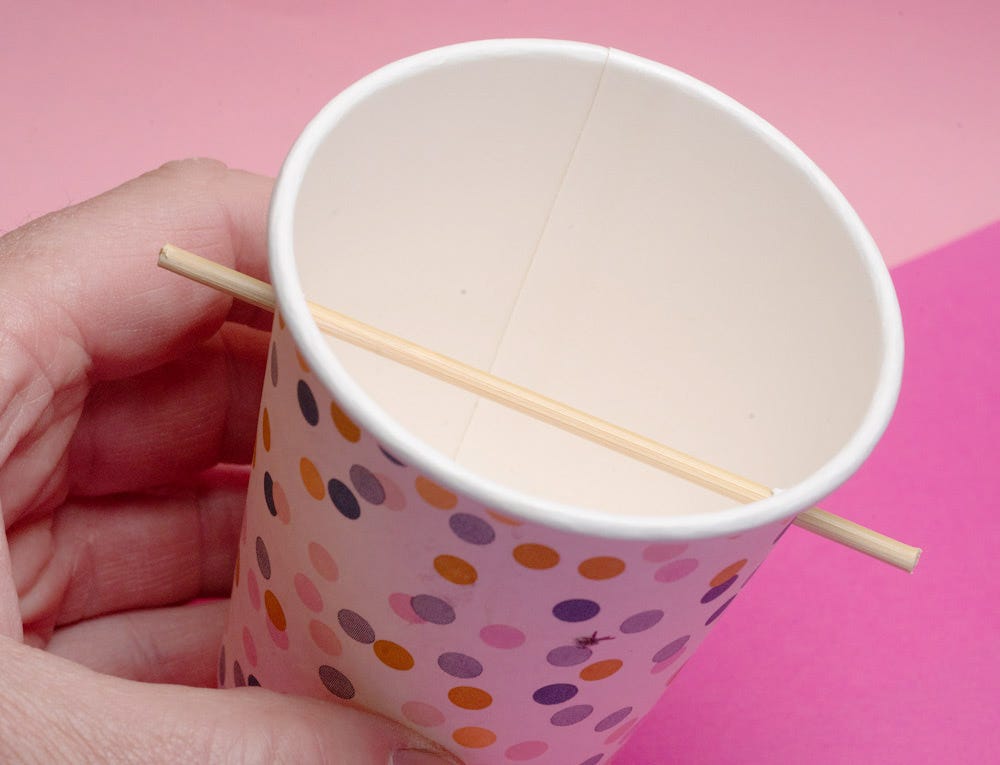
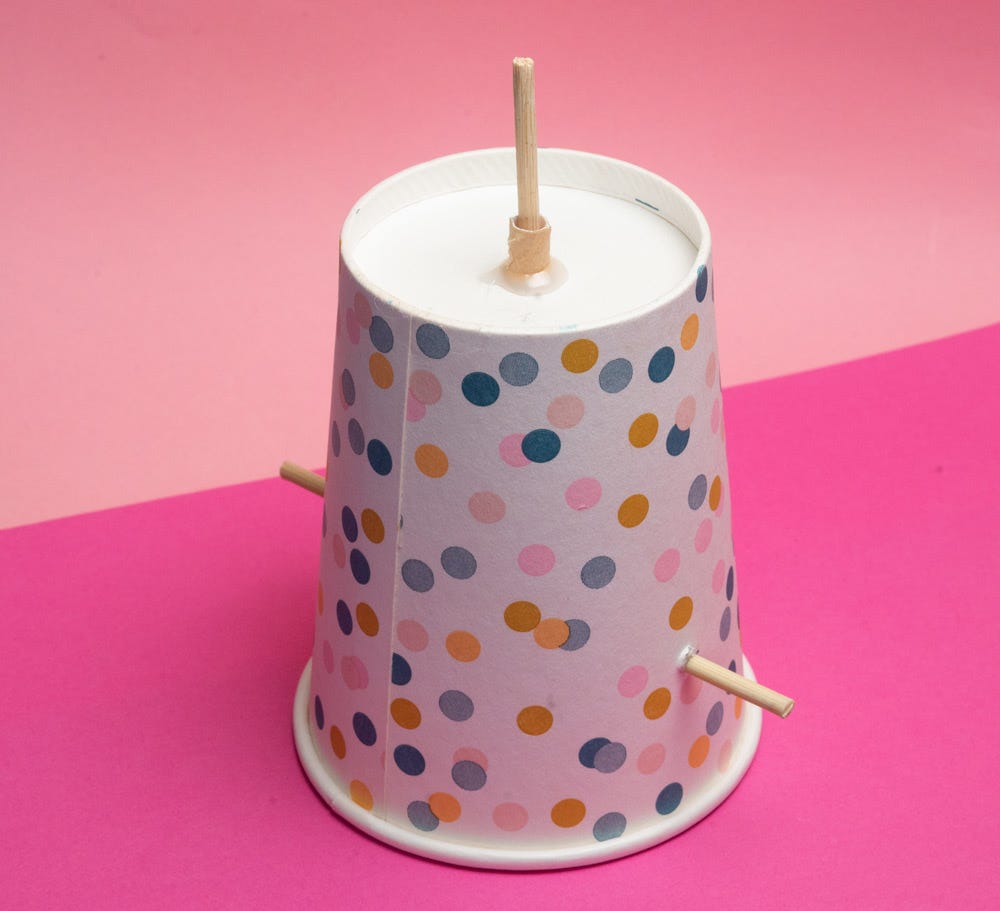
Make holes in the cup side large enough for the skewer to fit through. These should be roughly 25mm from the cup lip, one each side opposite each other.
Thread the skewer through the holes and trim is so that there is 25mm sticking out on each side.
Remove the skewer and set it to one side.
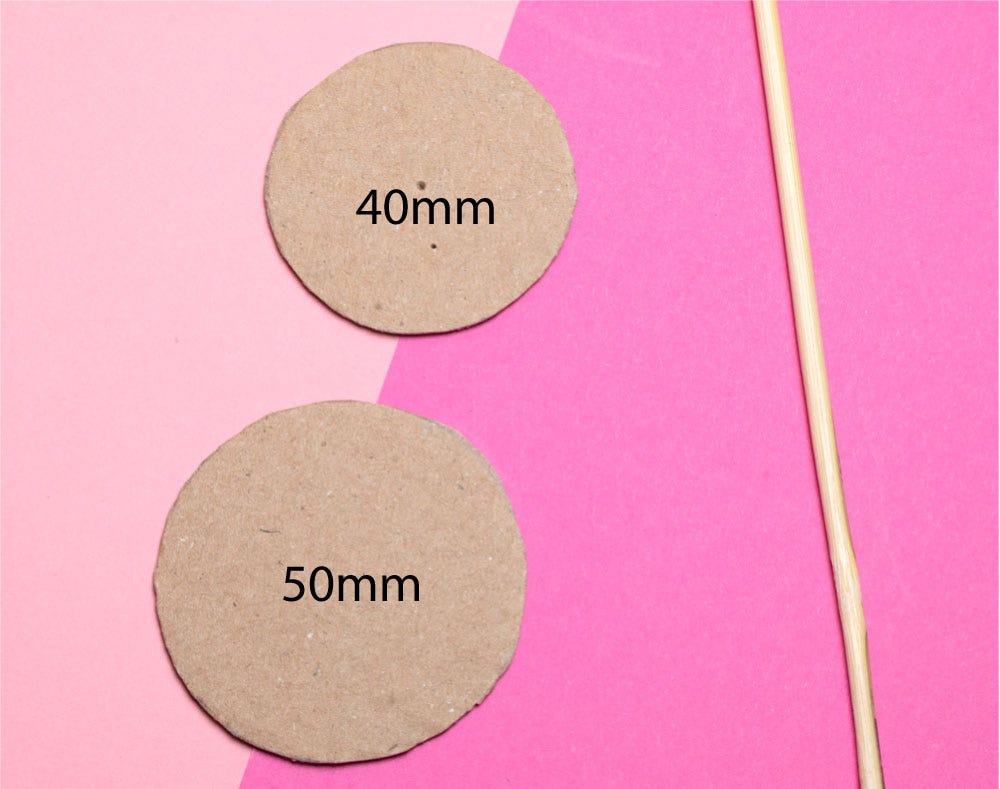
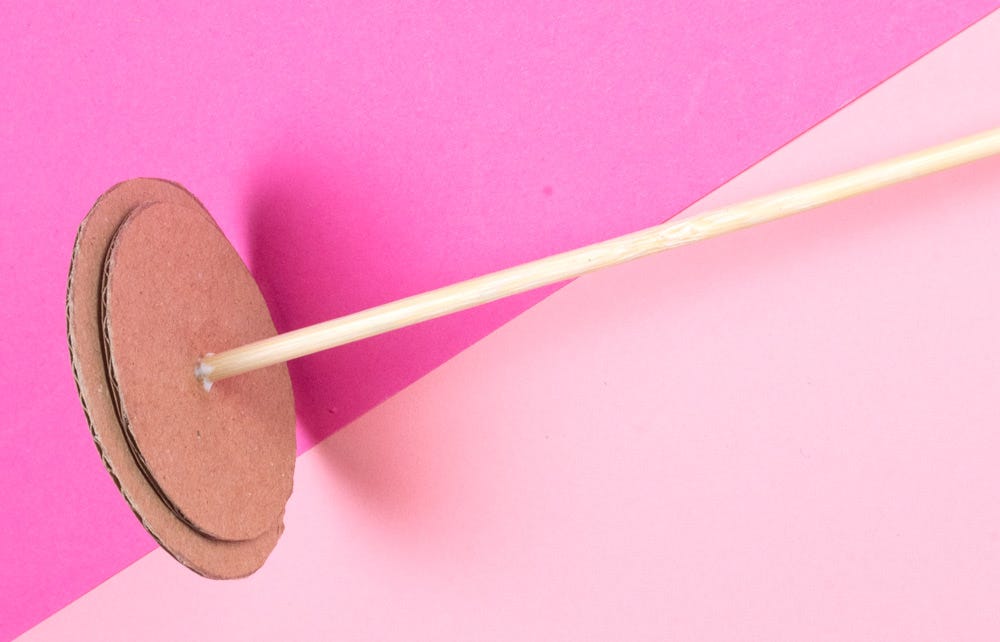
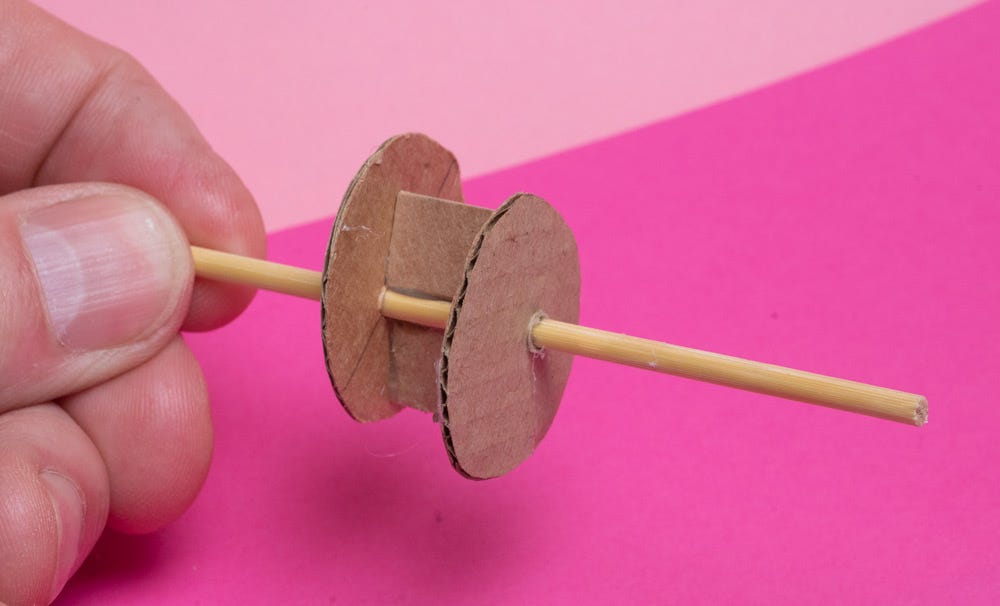
Cut two disks from corrugated card. Make holes in the centre of the disks so that the skewer is a tight fit.
Glue the disks together and fit the skewer into place so that the end is flush with the wider disk.
Cut the skewer so that it is roughly 90mm long
Drop the skewer through the straw in the cup.
Cut out card disks for the cams as shown.
The smaller disks will be washers, the larger disks are the cams.
Make hole in the centre of the washers to fit onto the skewer.
Make holes in the cams 5mm from the centre to fit the skewers.
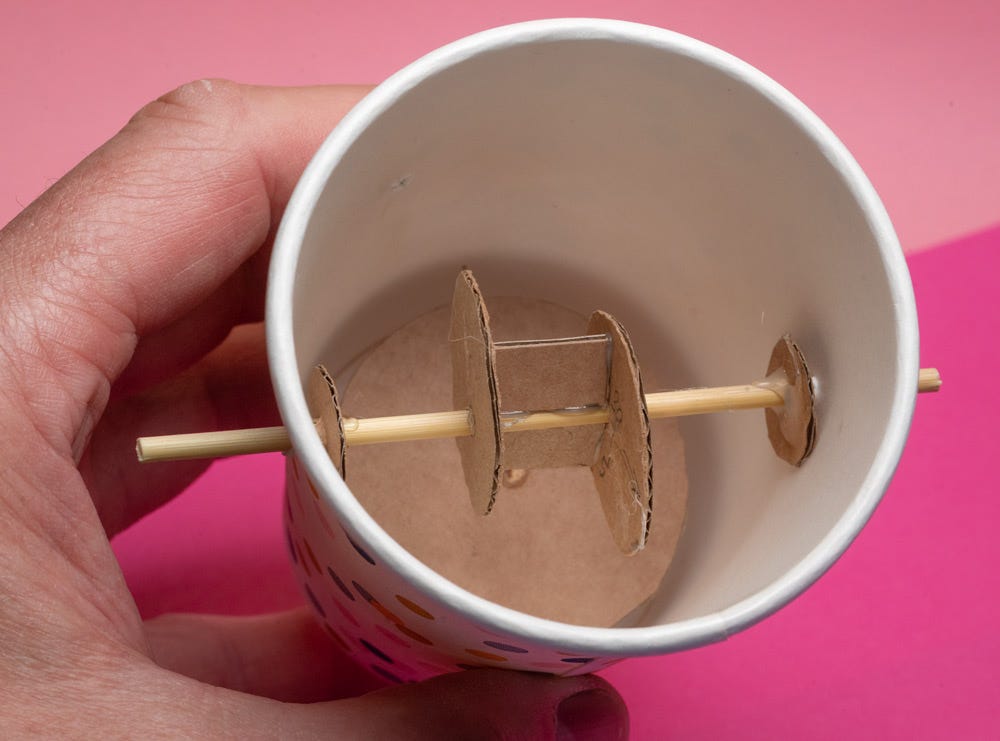
Thread a cam onto the axle skewer that you set aside earlier. Position it 12mm from the centre of the skewer and secure it with a dot of hot melt glue.
Glue on two fillets as shown, each 25mm x 20mm
Thread the other cam into place and glue it to the fillets so that the offset is on the opposite side of the cam shaft. Thread the washers onto the cam shaft but don’t glue them yet.
Thread the cam shaft into the cup. Centre it then slide the washers to the cup wall and glue them to the axle. Make sure the axle is still free to move!
Flip the cup!
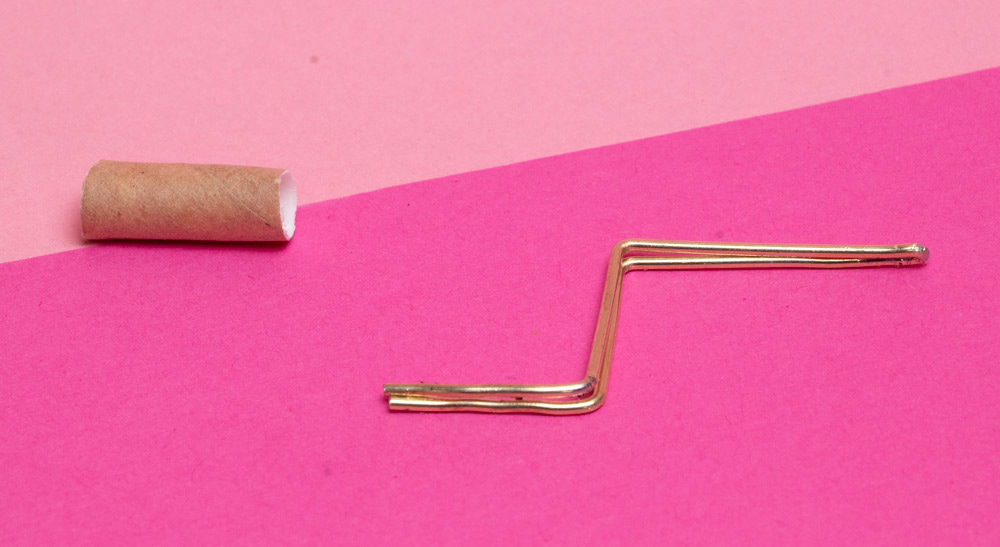
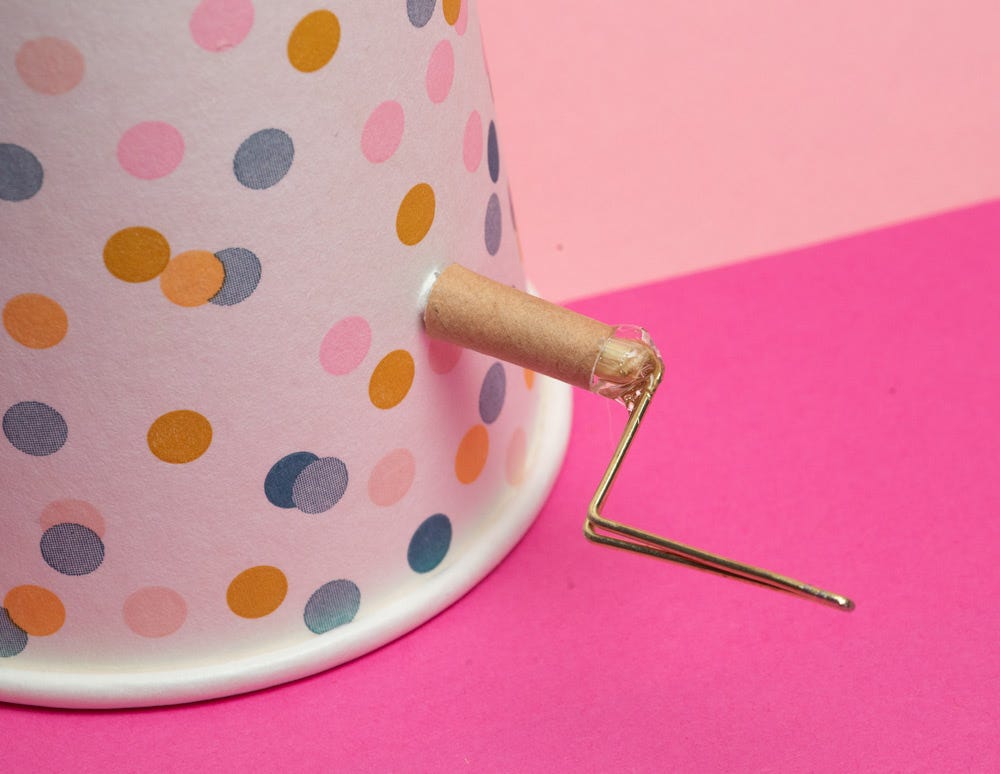
Cut a 15mm length of straw.
Fold up a wire handle from the paper clip.
Carefully!
Fill the straw with cool melt hot glue, push it onto the axle then push the handle into the glue.
Let the crank cool down completely
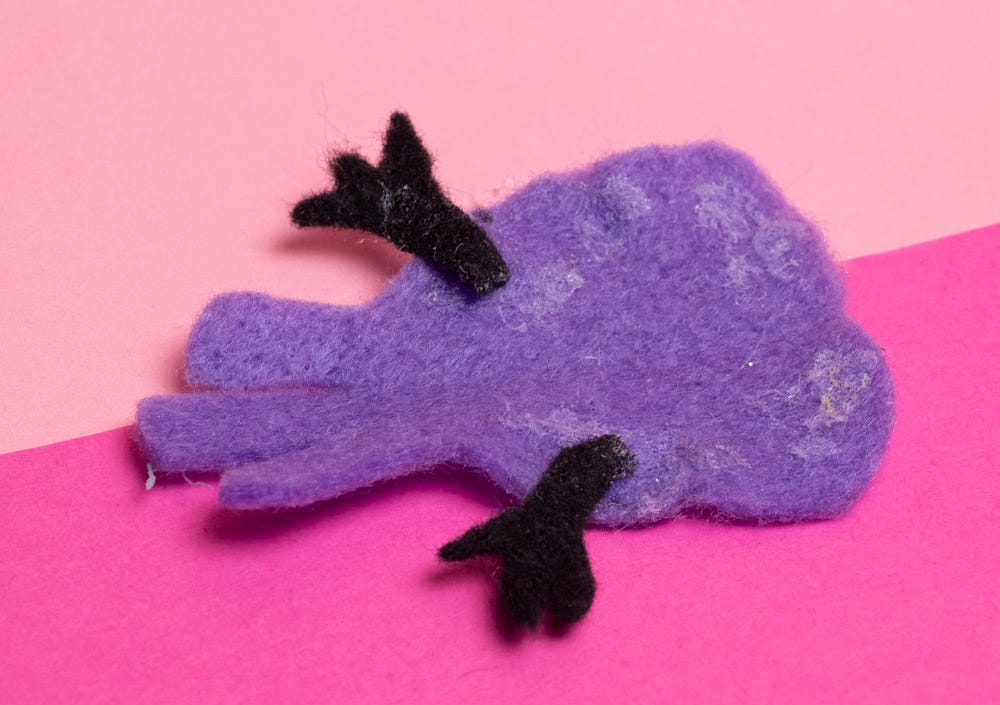
Glue the feet to the underside of the bird body.
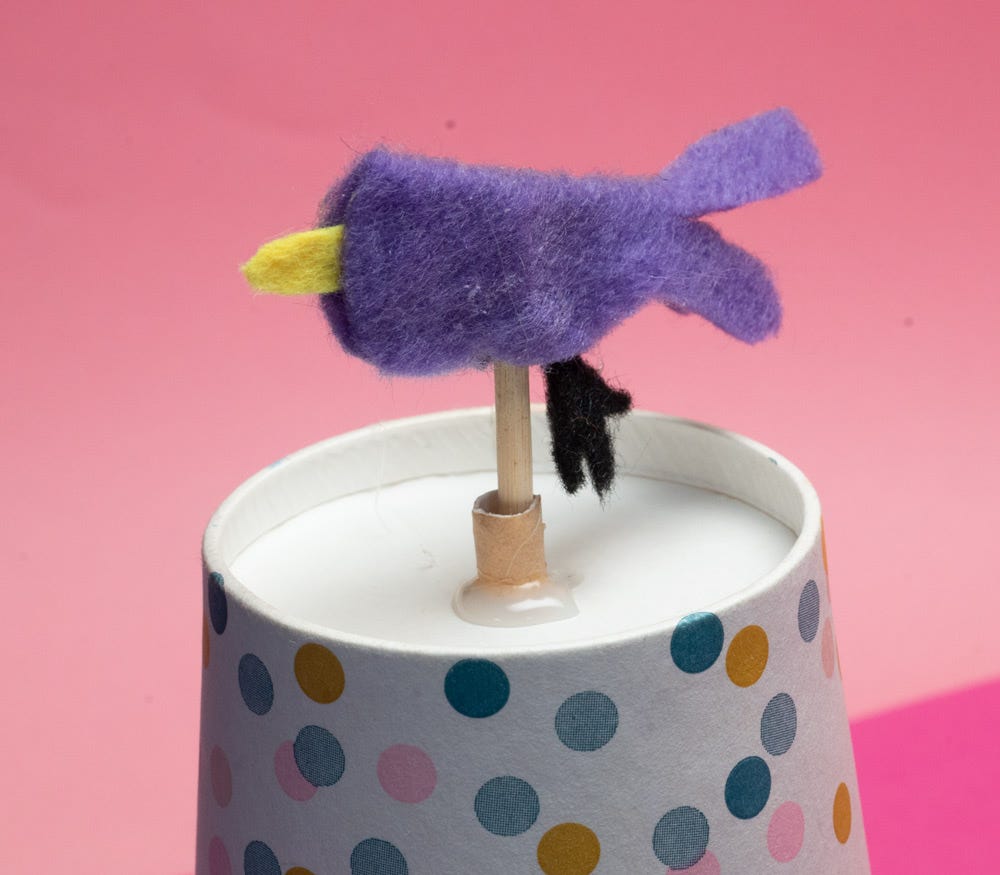
Fold the bird in half with the beak in place and glue it to the push rod that is coming out of the cup.
Finish off the project by adding the wings and some googly eyes.
Turn the handle to make the bird bob from side to side in a seemingly random way!
Paid subscribers to this newsletter can download the instructions and templates below, thanks for your support!


