
Linkage Seagull
A #STEAMjunk project

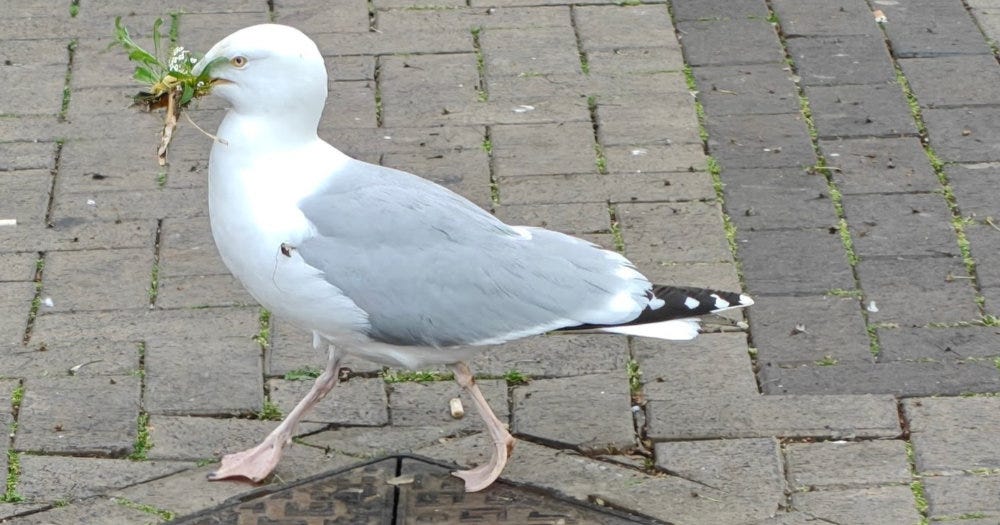
The final project from our Netherlands trip was inspired by the noisy, charismatic seagulls of Harlingen. Back in our room one evening, armed with thin corrugated card, split pins (brads), and a pack of acrylic pens, I started experimenting with linkage layouts to bring a cardboard gull to life.

Earlier that day I’d rescued a few promising offcuts from the recycling piles that appear in continental shopping streets at closing time, lovely thin e‑flute card, perfect for tinkering. Snacks acquired, tools spread out, the seagull began to take shape.
The first draft of the seagull wasn’t coloured at all. The priority was getting the mechanics right. Corrugated card was perfect for this stage, I could punch and repunch the holes for the split pins, shifting them around to test different distances and pivot points until the movement felt natural. I wanted the gull to stretch forward as it squawked, with upper and lower beaks moving in opposite directions. My early version used separate linkages for each beak, but after a bit of trial and error I realised the lower beak could open simply by tilting the neck forward. The upper beak, being part of the head, lifted automatically as the head moved back.
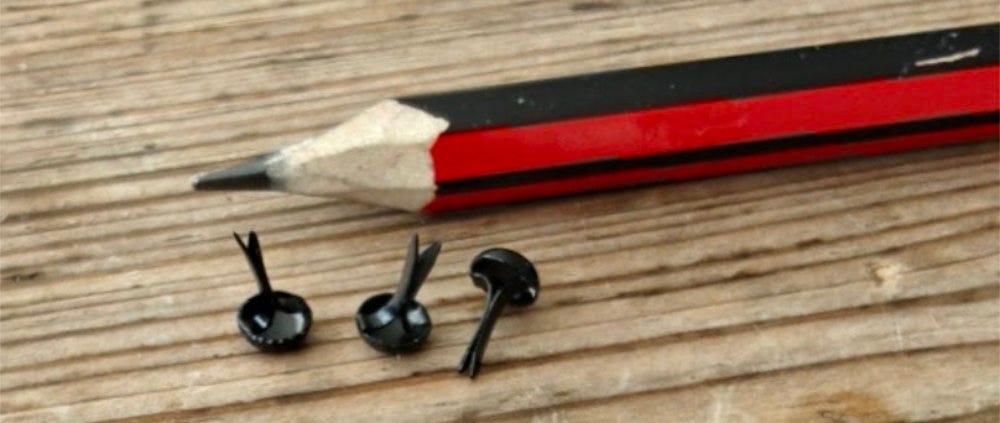
The breakthrough came when I adjusted the spacing of the brads. As you’ll see in the animation above, the brads on the head sit much closer together than those on the body. That tighter spacing created a wonderfully exaggerated head movement, exactly the characterful motion I was hoping for.
Once the movement felt right, I dismantled the prototype and traced around each piece, now riddled with test holes from all the experimenting. I refined the outlines, cut out clean new versions, and added only the pivot holes that the final mechanism required. With the clean pieces ready, I grabbed the acrylic pens and gave the seagull some colour before assembling everything. Once it was put together, I filmed a quick clip and posted it to Instagram.
Once we were back in the UK, I dismantled the whole project again, scanned the pieces, printed fresh copies, and rebuilt it step by step while photographing the process. That’s the version I’m sharing with you today. I hope you enjoy it and have fun making your own. Premium subscribers can download the finished file complete with step-by-step instructions at the bottom of this page, and everyone else can either sign up or visit my website to grab the file for a small fee.

Thanks so much for reading, and I hope this little project brings a bit of making‑joy to your week. If you’d like early access to projects, or downloadable files, consider joining the newsletter or becoming a premium subscriber. And of course, there’s always plenty more to explore over on the website. Wishing you a creative and curious week ahead.